Yes, you can paint the top of a skateboard. Ensure the surface is clean and sanded for the paint to adhere properly.
Customizing your skateboard with paint adds a personal touch to your ride while showcasing your unique style. Skaters often seek ways to stand out, and painting the deck is a perfect canvas for self-expression. Whether for aesthetic purposes or to protect the wood, using the right type of paint and sealant ensures the design lasts as long as your skateboarding sessions.
Can You Paint The Top Of A Skateboard? By following the necessary steps, such as priming and finishing with a clear coat, your artistic flair can take your skateboard from a mere sports equipment to a moving piece of art. Remember, the key is to use durable materials and let each layer dry thoroughly to achieve a professional-looking finish.
Choosing The Right Paint
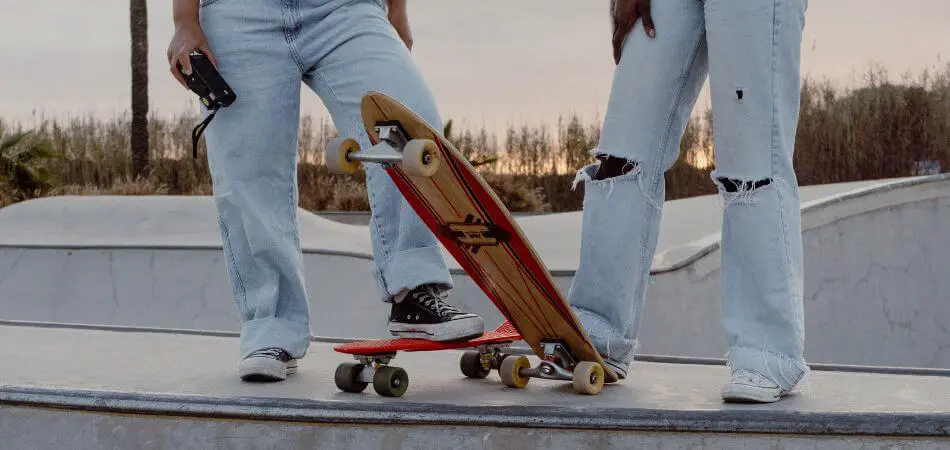
Choosing the right paint for your skateboard is crucial not only for aesthetics but durability. The board goes through a lot when riding on different surfaces. It’s essential to select paint that can withstand wear and tear, while still being vibrant!
Type Of Paint To Use
- Acrylic paints: Durable and come in bright colors.
- Spray paint: Offers a smooth finish; good for stenciling.
- Enamel paint: Resists chipping; takes longer to dry.
Selecting the right type is vital for the paint to last. Think about your design. Will you use stencils, or are you free-handing a pattern? This will guide your paint choice.
Surface Preparation
Preparing the surface of a skateboard is key before applying paint. Make sure the top is clean, dry, and smooth.
- Remove old paint: Use sandpaper to get rid of flaking paint.
- Clean the surface: Wipe away dirt and oils with a cloth.
- Apply a primer: Primer helps the new paint stick better.
This step ensures the paint adheres properly and lasts longer. Take your time during prep work for the best results!
Preparing The Skateboard Surface
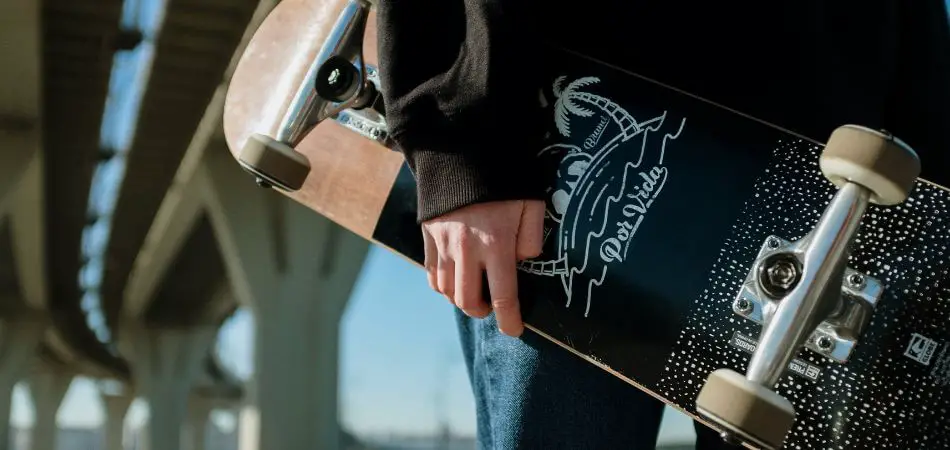
Before painting a skateboard, prepping the surface is key. A well-prepped board ensures paint adheres better and lasts longer. Learn the steps to clean and sand the skateboard for an optimal painting surface.
Cleaning The Surface
First things first, a clean surface is crucial for painting. Grab a microfiber towel and some soapy water to start:
- Remove all stickers and adhesive residue.
- Wipe down the surface with soapy water.
- Use a soft brush for tough dirt.
- Rinse with clean water.
- Dry thoroughly with a clean towel.
Sanding The Surface
To ensure the paint adheres well, sanding is crucial. Get your hands on sandpaper and follow these steps:
- Choose the right grit sandpaper. Start with around 120 to 150 grit for initial sanding.
- Gently sand the entire skateboard surface.
- Focus on rough or uneven areas.
- Wipe away all dust with a clean cloth.
- For a smoother finish, use a finer grit like 220.
With the surface clean and sanded, it’s now primed for a custom paint job that will turn heads at the skatepark!
Applying The Paint
Want to give your skateboard a new look? Painting the top of your skateboard lets you showcase your style.
Using Primer
Before painting, applying primer is key. It helps the paint stick better and last longer. Here’s how to apply primer:
- Choose the right primer: Make sure it’s compatible with your paint.
- Prepare your workspace: Cover it with newspapers to avoid messes.
- Apply evenly: Use short bursts of spray for a smooth coat.
- Let it dry: Wait for at least 10 minutes before painting.
Painting The Design
Painting your design requires patience and precision. Following these steps will make the process easier:
- Create your design: Sketch it on paper or use stencils.
- Tape off areas: Use painter’s tape to cover parts you don’t want painted.
- Choose your paints: Acrylics work well for detailed designs.
- Paint in layers: Start with light colors, then add darker shades.
- Use thin coats: Multiple thin coats are better than a single thick one.
- Let it dry: Give each layer enough time to dry before adding another.
Remember to work in a well-ventilated area and keep paint away from gear mechanisms. With the right approach, your skateboard will have a custom look that stands out!
Sealing The Paint
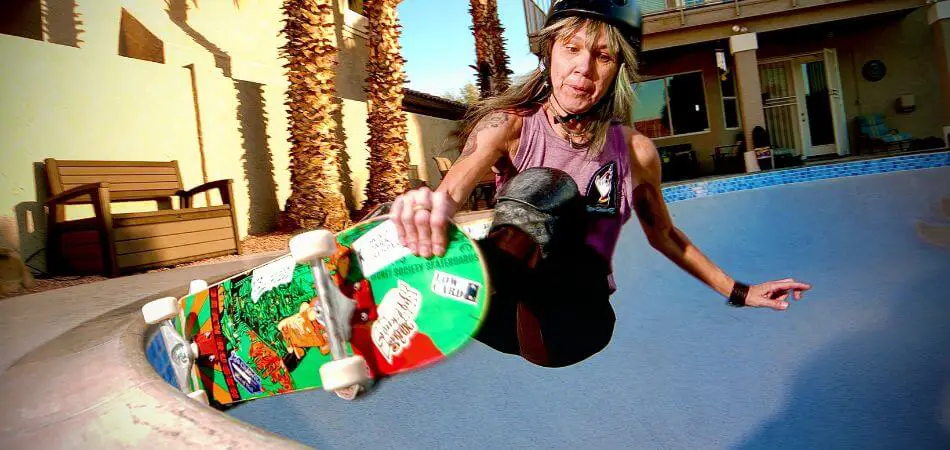
So you’ve just added a fresh coat of paint to your skateboard, transforming it with vibrant colors and striking designs. But now comes an important step: Sealing the Paint. To protect your artwork and keep it looking great, the paint needs a protective shield. This shield keeps moisture, dirt, and scrapes at bay. Without it, your paint might chip or fade much faster than you’d like.
Using Clear Coat
A clear coat is this shield. It is a transparent layer that covers your paint. Think of it as an invisible defender. To apply a clear coat, choose a spray-on sealant or a brush-on varnish. Both work well, but each has its steps. Let’s put them in a list for easy understanding:
- Ensure the Paint is Dry: Before applying clear coat, make sure your paint is completely dry.
- Clean the Surface: Dust or dirt will spoil your finish. A clean surface is crucial.
- Apply Evenly: When you spray or brush the clear coat, go for thin, even layers. This ensures no drips or bumps.
- Repeat if Needed: Sometimes one layer isn’t enough. Add another for extra durability.
Drying And Curing
After sealing your skateboard, patience is key. The clear coat must dry and cure. Drying is when the coat is no longer wet. Curing is when it reaches full strength. This takes longer. Here’s a simple table showing the usual times:
| Stage | Time Needed |
|---|---|
| Drying Time | 1-2 hours |
| Curing Time | 24-48 hours |
Don’t rush this part. Avoid touching the surface or riding the skateboard until it’s completely cured. Mark your calendar if that helps. By waiting the proper time, you ensure a seal that lasts much longer, and your skateboard stays brighter and bolder for all to admire.
Adding Personal Touches
Skateboards aren’t just for riding; they’re a canvas for your creativity. Adding your own design makes your board unique. Whether you’re an artist or just looking to personalize your ride, painting the top of your skateboard leaves you with something more than a means of transport: it’s a piece of you.
Customization Options
Customizing your skateboard is an exciting way to express yourself. Options are endless:
- Choosing colors that match your style
- Adding stencil art for a professional touch
- Using decals or stickers for those who prefer an easier route
- Implementing grip tape designs that combine form and function
Each choice reflects your individual personality on your board. Remember to prepare your surface for the best results. Sanding the top gently will help the paint stick better!
Enhancing Durability
Painting your skateboard adds more than aesthetics; it also helps protect the wood. Here’s how to ensure longevity:
- Use quality paints formulated for outdoor use to withstand the elements.
- Apply a clear sealant over your artwork to shield it from scuffs and UV rays.
- Consider using varnish for a glossy finish that also adds an extra layer of protection.
And if you’re worried about wear-and-tear, reinforcing the paint job periodically can keep your graphics looking fresh for longer. Regular maintenance is key.
Frequently Asked Questions For Can You Paint The Top Of A Skateboard
Can You Customize Your Skateboard With Paint?
Yes, you can customize the top of your skateboard with paint. It’s important to use paint that can adhere well to the grip tape or wood deck and withstand the wear from skating.
What Kind Of Paint Is Best For Skateboards?
Acrylic paint is often recommended for painting skateboards. It dries quickly and sticks well to both the wooden deck and grip tape. Ensure it’s a quality outdoor-grade acrylic to resist fading and wear.
How Do You Prep A Skateboard For Painting?
Before painting, clean the deck thoroughly and sand down any rough areas. Apply a primer if painting over the wood or use a paint that can directly go over the grip tape. Make sure the surface is smooth and clean to ensure proper adhesion.
Is Painting The Top Of A Skateboard Difficult?
Painting the top of a skateboard isn’t difficult if you prepare properly and have steady hands. Use stencils or tape for clean lines and designs. Take your time and work patiently for the best results.
Conclusion
Absolutely, painting the top of a skateboard is achievable with the right approach. Remember, patience and proper materials bring out the best results. Embrace your creativity and let your board reflect your unique style. Give your deck a personal touch and hit the streets with pride!

