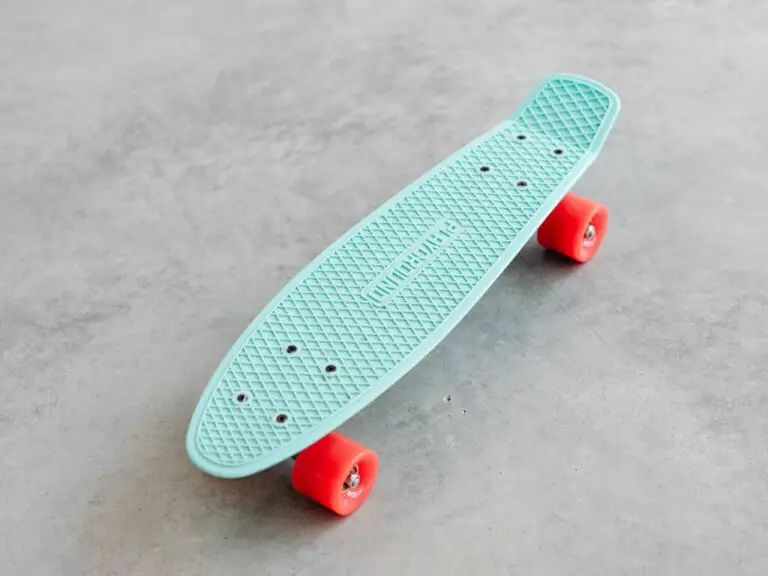
Skateboarding is an exhilarating activity that provides a sense of freedom and excitement. However, keeping your skateboard in top condition is essential for a smooth and enjoyable ride. One of the most important aspects of skateboard maintenance is replacing the bearings in your wheels. This seemingly daunting task is actually quite simple with the right tools and instructions.
In this blog post, we will provide a comprehensive guide on how to put bearings in skateboard wheels. We will cover everything from gathering the necessary materials to installing the bearings and ensuring they are properly aligned. By following our step-by-step instructions, you will have your skateboard ready to roll in no time.
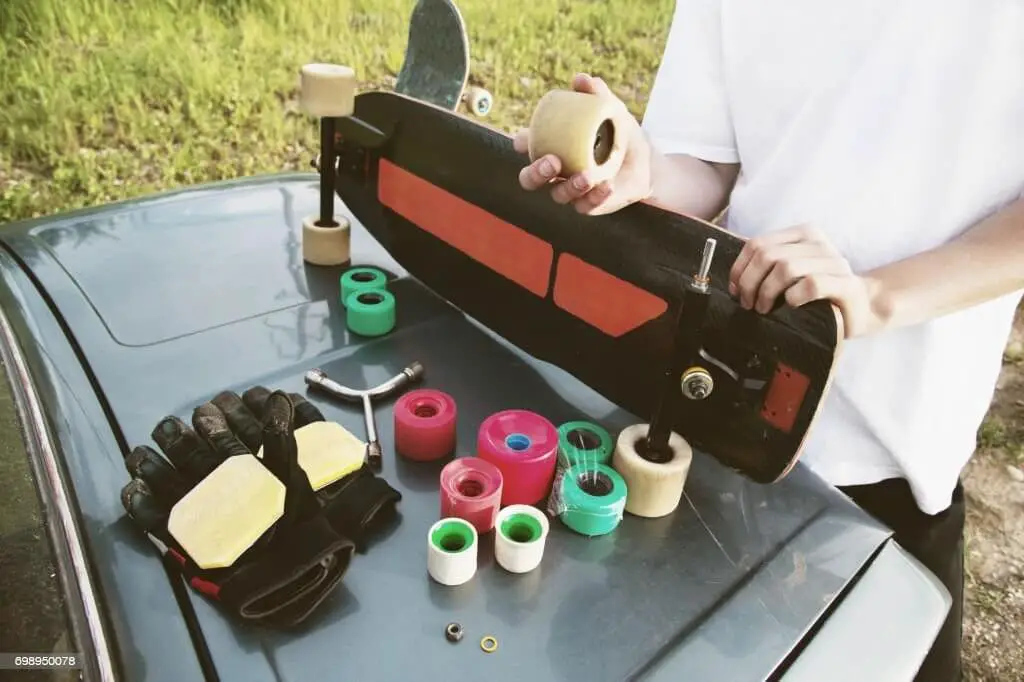
Gather the Necessary Tools and Materials
- Skateboard wheels
- Skateboard bearings
- Skate tool
- Bearing press (optional)
How to Put Bearings in Skateboard Wheels : Removing Old Bearings
Removing old bearings is a necessary step when replacing them with new ones. There are a few different ways to remove old bearings, but the most common method is to use a skate tool or bearing press.
Tools Needed
- Skate tool or bearing press
- Wrench
- Hammer (optional)
Steps
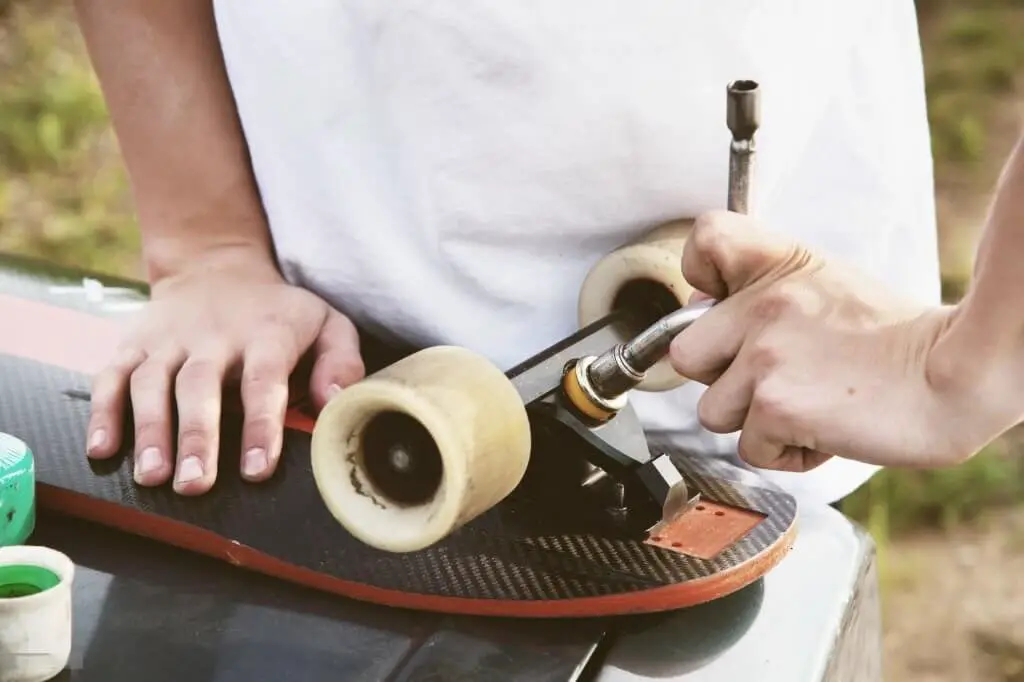
- Loosen the axle nuts. Use a wrench to loosen the axle nuts on both sides of the wheel.
- Take off the washers and spacers. Once the axle nuts are loose, you can remove the washers and spacers.
- Pry off the old bearings. Use a skate tool or bearing press to pry off the old bearings. You may need to use a hammer to tap the skate tool or bearing press to loosen the bearings.
- Clean the bearing race. Once the old bearings have been removed, clean the bearing race with a degreaser and a rag.
Tips
- If you are using a skate tool, be careful not to damage the bearing race.
- If you are using a bearing press, make sure that the bearings are evenly pressed on both sides.
- If the bearings are difficult to remove, you can try heating them up with a hair dryer or heat gun.
Safety Precautions
- Always wear safety glasses when working with tools.
- Be careful not to damage the wheel or axle.
- If you are using a hammer, be careful not to hit the bearing race.
Wipe off any dirt or debris from the wheels
Over time, dirt and debris can build up on the wheels of your car or truck. This can cause several problems, including:
- Reduced wheel performance: Dirt and debris can interfere with the smooth operation of your wheels, making them more difficult to turn and making your car or truck handle less responsively.
- Increased wear and tear: Dirt and debris can also cause premature wear and tear on your wheels, leading to costly repairs.
- Corrosion: Dirt and debris can also lead to corrosion of your wheels, which can further damage them and make them unsafe to drive on.
Therefore, it is important to regularly wipe off any dirt or debris from your wheels. This will help to keep them clean and in good working order.
Here are some tips for wiping off dirt or debris from your wheels:
- Use a clean cloth or microfiber towel.
- Do not use harsh abrasives, as these can scratch the finish of your wheels.
- Rinse the wheels with water after wiping them off.
Use rubbing alcohol to clean the bearing seats
The bearing seats are the parts of the wheel that the bearings fit into. Over time, dirt and debris can build up on the bearing seats, which can cause the bearings to wear out prematurely. Rubbing alcohol can be used to clean the bearing seats and remove any dirt or debris.
Here are some tips for cleaning the bearing seats with rubbing alcohol:
- Apply rubbing alcohol to a clean cloth or microfiber towel.
- Wipe the bearing seats with the towel.
- Allow the rubbing alcohol to dry completely before reassembling the wheels.
Installing New Bearings
Bearings play a crucial role in various mechanical systems, enabling smooth and efficient rotation of components. Over time, bearings can wear out or become damaged, leading to performance issues and potential safety hazards. Replacing worn-out bearings is essential to maintain the integrity of your machinery. This guide provides detailed instructions on installing new bearings, ensuring proper alignment and optimal performance.
Preparation
Before embarking on the installation process, gather the necessary tools and materials:
- New bearings
- Wheel bearing press (if applicable)
- Torque wrench
- Socket wrench set
- Hammer or mallet
- Clean rags
- Bearing grease
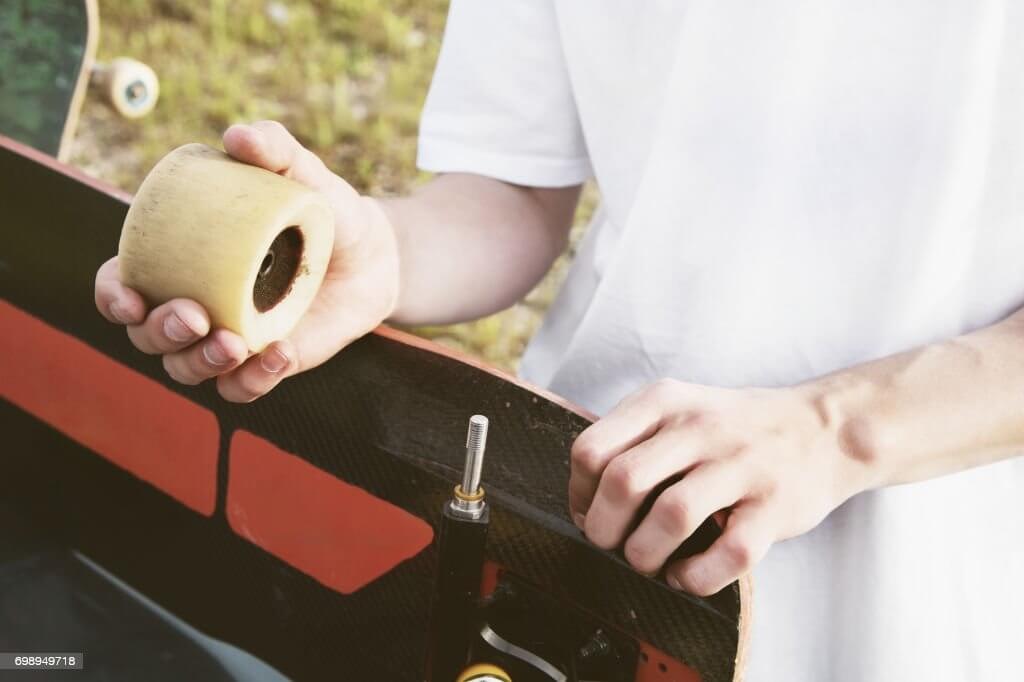
Installing the First Bearing
- Clean the Axle: Thoroughly clean the axle to remove any dirt, debris, or old grease that could compromise the installation.
- Apply Grease: Apply a generous amount of bearing grease to the axle, ensuring even coverage.
- Position the Bearing: Place the first bearing on the axle, ensuring the shielded side faces outward. The shielded side protects the bearing from external contaminants.
- Press the Bearing: If using a wheel bearing press, carefully press the bearing onto the axle until it is fully seated. If a press is unavailable, use a hammer or mallet to gently tap the bearing onto the axle. Strike the inner ring of the bearing, avoiding direct contact with the rolling elements.
- Verify Alignment: Ensure the bearing is properly aligned and square to the axle. Check for any signs of misalignment or tilting.
Installing the Second Bearing
- Clean the Wheel Hub: Similarly, clean the wheel hub to remove any contaminants that could affect the bearing installation.
- Apply Grease: Apply a liberal amount of bearing grease to the wheel hub.
- Position the Bearing: Place the second bearing on the wheel hub, ensuring the shielded side faces inward.
- Press the Wheel: Carefully press the wheel onto the bearing until it is fully seated. Use a wheel bearing press if available. If not, use a hammer or mallet to gently tap the wheel onto the bearing, striking the outer ring of the bearing.
- Verify Alignment: Ensure the bearing is properly aligned and square to the wheel hub. Check for any signs of misalignment or tilting.
Installing Spacers and Washers
Spacers and washers are essential components in various mechanical assemblies, ensuring proper alignment, reducing friction, and distributing load evenly. Installing spacers and washers correctly is crucial for the optimal performance and longevity of the equipment they are used in.
Understanding the Roles of Spacers and Washers
- Spacers: Spacers are precision-machined components that maintain a specific gap or distance between two components. They prevent direct contact between parts, minimizing friction and wear.
- Washers: Washers are thin, flat discs that distribute load evenly and protect surfaces from damage. They are often placed under nuts, bolts, or screws to prevent damage to the work surface.
Installing Spacers and Washers
- Gather the Necessary Tools:
- Spacers
- Washers
- Assembly instructions or diagram
- Wrenches, screwdrivers, or other appropriate tools
- Identify the Placement of Spacers and Washers:
- Refer to the assembly instructions or diagram to determine the exact location of each spacer and washer.
- Observe the orientation of the spacers and washers as they may have specific sides or directions.
- Slide the Spacer onto the Axle:
- Carefully align the spacer with the axle, ensuring it fits snugly without excessive force.
- Check the spacer’s position to ensure it is properly centered and aligned with the component it is spacing.
- Place the Washer on Top of the Spacer:
- Align the washer with the spacer, ensuring it is centered and perpendicular to the axle.
- Check the washer’s orientation if it has a specific side or direction.
- Secure the Assembly:
- Proceed with the assembly process, following the instructions or diagram.
- Tighten nuts, bolts, or screws to the specified torque or tension.
Additional Tips for Successful Installation:
- Clean the components: Ensure the surfaces of the axle, spacer, and washer are clean and free from debris.
- Use the appropriate tools: Select wrenches or screwdrivers that fit the fastener heads properly to avoid slippage or damage.
- Apply consistent force: Tighten fasteners evenly and consistently to avoid misalignment or damage.
- Double-check placement and orientation: Before final assembly, confirm the correct placement and orientation of all spacers and washers.
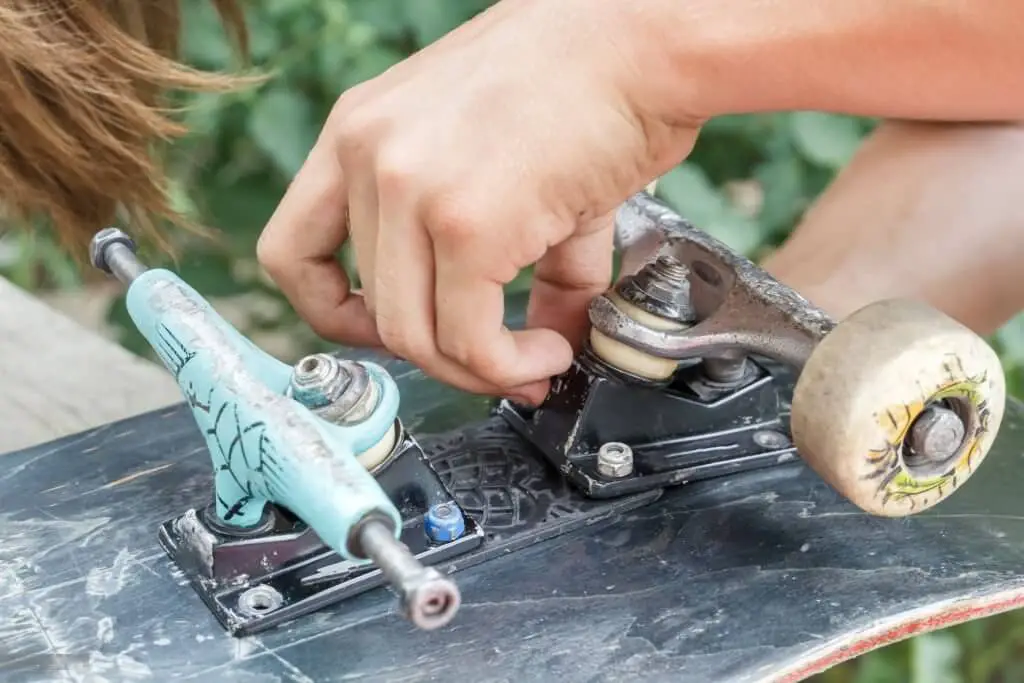
Tightening Axle Nuts
Ensuring the proper tightness of axle nuts is crucial for maintaining smooth wheel rotation and optimal skateboard performance. Over-tightening can lead to excessive friction and premature wear, while under-tightening can cause wobbling and potential safety hazards. Therefore, it’s essential to follow the correct procedure and utilize the appropriate tools to tighten axle nuts effectively.
Gathering the Necessary Tools
Before embarking on the task of tightening axle nuts, ensure you have the following tools at hand:
- Skate tool: A specialized wrench designed to tighten and loosen axle nuts.
- Socket wrench: This is an optional tool that can be used to tighten the locknut, which secures the axle nut in place.
Step-by-Step Guide to Tightening Axle Nuts
- Place the skateboard on a flat, stable surface. This will provide a secure base for the tightening process.
- Remove the wheel locks: Using the skate tool, unscrew the wheel locks located on both sides of the wheel.
- Loosen the locknut: If present, use a socket wrench to slightly loosen the locknut that sits against the axle nut.
- Tighten the axle nut: Using the skate tool, firmly tighten the axle nut. Aim for a snug fit that allows the wheel to spin freely without any wobble. Avoid over-tightening, as this can damage the bearings and hinder wheel rotation.
- Check for play: Once the axle nut is tightened, gently try to move the wheel sideways to check for any play or excessive looseness. If the wheel wobbles or moves excessively, tighten the axle nut slightly further.
- Secure the locknut: If present, tighten the locknut using the socket wrench to secure the axle nut in place. Ensure the locknut is firmly tightened but avoid over-tightening.
- Repeat the process for the other wheel: Follow the same steps for the opposite wheel to ensure both wheels have properly tightened axle nuts.
Repeating the process for the remaining wheels
Once you have completed the tire rotation process for one wheel, you will need to repeat the same process for the remaining wheels. This will ensure that all of your tires are evenly worn and that you are getting the most out of them.
Steps to repeat the process
- Loosen the lug nuts. Use a lug wrench to loosen the lug nuts on the remaining wheels. Do not remove the lug nuts completely at this time.
- Jack up the vehicle. Use a jack to raise the vehicle so that you can access the tire that you are going to rotate.
- Remove the tire. Use a tire iron to remove the lug nuts and then carefully remove the tire from the wheel hub.
- Mount the spare tire. Place the spare tire onto the wheel hub and hand-tighten the lug nuts.
- Lower the vehicle. Use the jack to lower the vehicle so that the tire is on the ground.
- Tighten the lug nuts. Use a lug wrench to tighten the lug nuts to the specified torque.
- Repeat steps 1-6 for the remaining wheels.
Conclusion
Skateboard bearings are essential for smooth rolling and overall performance. Learning how to put bearings in skateboard wheels is a crucial skill for any skater. With the right tools and a bit of patience, you can easily install new bearings or replace worn ones in no time. This guide will walk you through the process step-by-step, ensuring your wheels are ready for action.
FAQ’s
How do you put bearings on skateboard wheels?
To place bearings on skateboard wheels, follow these steps:
Gather supplies: skateboard, bearings, wheels, spacer (optional).
Place wheel on a flat surface, graphic side down.
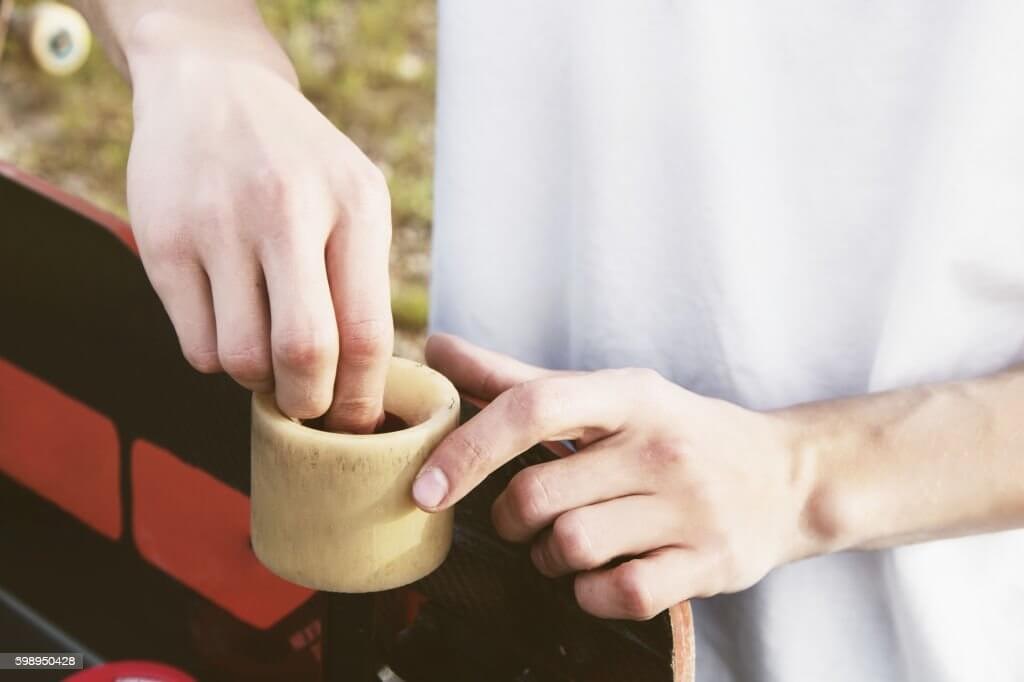
Push bearing into the wheel’s center, ensuring it’s flush.
Press down evenly until bearing is seated.
Repeat for the second bearing.
Use spacer if desired, for even pressure.
Slide wheel onto truck axle.
Secure with nut, but not too tight.
Spin wheel to check smoothness.
Repeat for all wheels. Enjoy your ride!
How do you put bearings in skateboard wheels without a press?
To insert skateboard bearings without a press:
Place wheel on a clean surface.
Position bearing on the wheel’s center.
Use the truck axle to press down gently, aligning bearing.
Apply even pressure and push until bearing is seated.
If needed, tap gently with a soft mallet or block of wood.
Repeat for second bearing.
Use a spacer for even pressure if available.
Slide wheel onto truck axle.
Secure with nut, not overly tight.
Spin wheel to check smooth rotation. Repeat for other wheels.
How do you install bone bearings?
To install Bones skateboard bearings:
Gather tools: Bones bearings, skateboard wheels, spacer.
Place wheel on a clean surface.
Insert bearing into the wheel’s center.
Gently press down, aligning bearing.
Use truck axle to apply even pressure, seating the bearing.
Repeat for the second bearing.
Add spacer for balanced pressure.
Slide wheel onto axle.
Secure with nut, not overly tight.
Spin wheel to ensure smooth rotation. Repeat process for all wheels.
How do you put balls back in bearings?
To reassemble ball bearings:
Collect components: ball bearings, bearing retainer (if applicable).
Place retainer on a flat surface.
Insert balls one by one into the retainer’s holes.
Ensure balls are evenly distributed.
Gently press down to seat balls securely.
If no retainer, place balls directly into bearing races.
Hold bearing races steady and insert balls uniformly.
Check for smooth movement and even spacing.
If necessary, tap gently to align balls.
Repeat for all bearings. Carefully handle and avoid overloading with balls.