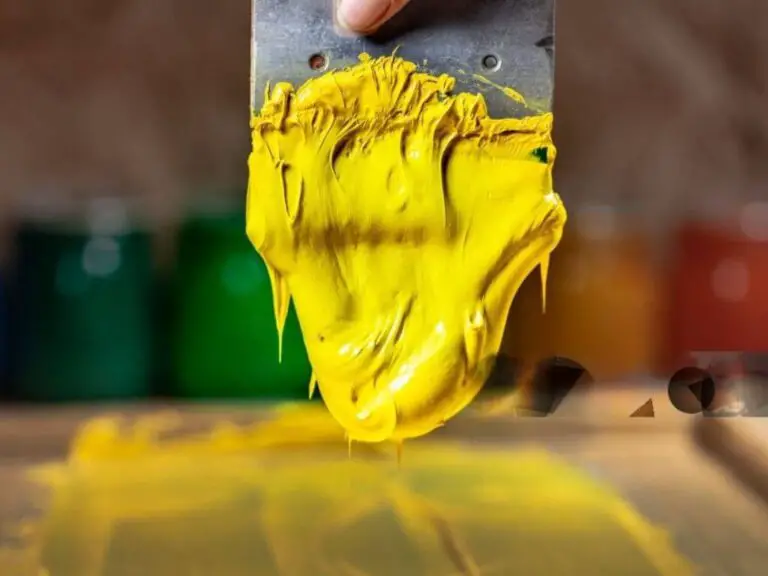
Painting a skateboard deck, begin by sanding it down and then apply primer. Choose your paint carefully for durability and aesthetic appeal.
Customizing a skateboard deck with paint not only reflects your personal style but also gives the board a fresh, unique look. Bear in mind the importance of preparing the deck properly, which ensures that your artwork or design lasts as long as possible.
Selecting the right type of paint is crucial, as it should withstand the wear and tear of skateboarding. Acrylic or spray paints are popular choices for their ease of application and variety of colors. Engaging in this creative process allows skaters to connect with their board on a deeper level, making every ride a display of self-expression. Remember to seal your work with a clear coat, protecting it from the elements and maintaining its vibrant appearance over time.
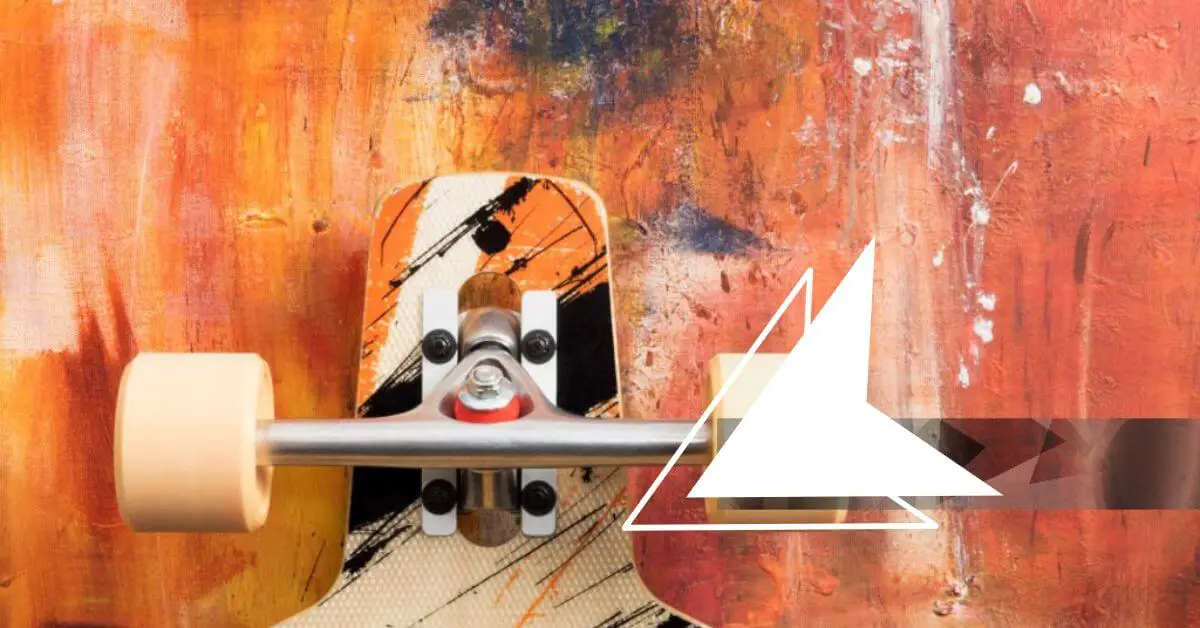
Choosing The Right Skateboard Deck
Starting your skateboard customization journey begins with the perfect canvas: the skateboard deck. It’s not just a wooden plank; it’s where your creativity meets the pavement. With endless options out there, picking the ideal deck is crucial.
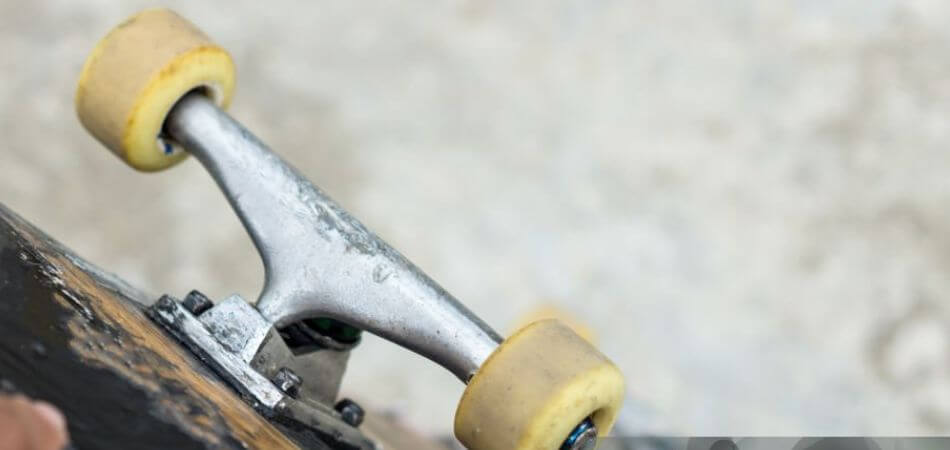
Deck Material
Different materials offer distinct experiences on the ride. Most decks come in maple wood, renowned for its durability and flexibility. Bamboo is another option, lighter and eco-friendly. Advanced skaters might choose carbon fiber for its lightweight and strength, but it’s pricier.
Deck Size And Shape
The size and shape of your deck will affect your skating style. Width sizes range typically from 7.5 to 8.5 inches. Narrower decks are great for tricky street skating, while wider ones suit ramp or vert skaters better. Shapes with a deep concave might offer more foot control, crucial for executing technical tricks.
- Deck width is crucial for stability and trick performance.
- Length varies mostly around 28-33 inches.
- Wheelbase impacts the board’s turning radius.
- Nose and tail shape can define your style of tricks.
Preparing The Skateboard Deck For Painting
Welcome to the colorful world of customizing your ride! Before you can unleash your creativity on a skateboard deck, proper preparation is essential for a flawless paint job. Let’s walk through the steps to prepare your skateboard deck for painting, ensuring it’s ready for its new look.
Sanding The Surface
Sanding smooths out your skateboard, allowing paint to stick better. Grab medium-grit sandpaper and start the process:
- Remove all stickers and adhesive residue.
- Rub the surface in circular motions.
- Progress to finer grit for a smooth finish.
Safety tip: Always wear a mask to avoid inhaling dust.
Cleaning And Priming
Cleanliness is next to godliness in painting your deck. Here’s a simple guideline:
- Wipe the deck with a damp cloth.
- Use a mild degreaser for stubborn areas.
- Let the skateboard dry completely.
Priming is next:
| Step | Action | Tip |
|---|---|---|
| 1 | Apply an even primer coat. | Use a roller for large areas. |
| 2 | Wait for the primer to dry. | Check can for drying times. |
| 3 | Lightly sand for texture. | Use very fine sandpaper here. |
After these steps, your skateboard deck is primed and ready for its fresh coat of paint!
Creative Painting Techniques

Customizing a skateboard deck offers a canvas to express creativity. The right painting techniques take a deck from dull to dynamic. Artists of all skill levels can transform their boards with unique designs. Get ready to roll through the world of creative painting!
Stencil Design
Stencil art makes complex patterns achievable. Begin with these steps:
- Choose a design that resonates with your style.
- Secure the stencil to your deck with tape.
- Apply spray paint or use a fine brush.
Custom stencils offer even more personalization. Cut them from sturdy material using a craft knife. Ensure each spray or brush stroke is even. This technique ensures crisp lines and professional results.
Freehand Artwork
Embrace your inner artist with freehand painting. Start by:
- Drawing an outline with a pencil if needed.
- Selecting your paints; acrylics work well.
- Using brushes of various sizes for detail.
Experiment with colors and techniques. Try sponges or even your fingers to create texture. The bold embrace mistakes, turning them into artsy elements. With freehand painting, the skateboard deck becomes a reflection of your personality.
| Supply Type | Examples |
|---|---|
| Stencils | Pre-cut, Custom-made |
| Paints | Acrylic, Spray |
| Tools | Brushes, Sponges, Craft Knives |
Whether opting for stencil precision or freehand flexibility, each technique adds a distinct flair. Your skateboard deck is ready for the streets and to showcase your creative spirit. Start painting and bring your vision to life!
Protecting And Sealing The Artwork
Your skateboard deck is now a canvas of creativity, boasting an eye-catching design. Protecting your artwork is just as critical as the application of colors and patterns. Sealing the deck safeguards your design from wear and tear, maintaining its allure over time. Ahead, we’ll dive into how to apply a clear coat, and manage the drying and curing process.
Applying Clear Coat
A clear coat acts as a shield for your masterpiece. Begin by choosing a high-quality varnish or sealant suitable for your deck’s material. Ensure your deck is clean and free of any dust.
- Keep the can about 12 inches away from the surface.
- Spray evenly across the deck in a sweeping motion.
- Apply multiple thin layers rather than one thick one.
Allow each coat to dry before applying the next, avoiding unwanted drips or smudges.
Drying And Curing
The final stage in sealing your art requires patience. After the last clear coat layer, let the deck dry in a cool, dust-free environment. Here’s a swift guide:
| Step | Action | Time Frame |
|---|---|---|
| 1 | Rest the deck | 10-15 minutes |
| 2 | Check tackiness | 1 hour |
| 3 | Cure fully | 24 hours |
Do not rush the process. Full curing is vital for the longevity of your design. After the deck has cured, you’re all set to hit the streets with your custom, art-protected skateboard deck.
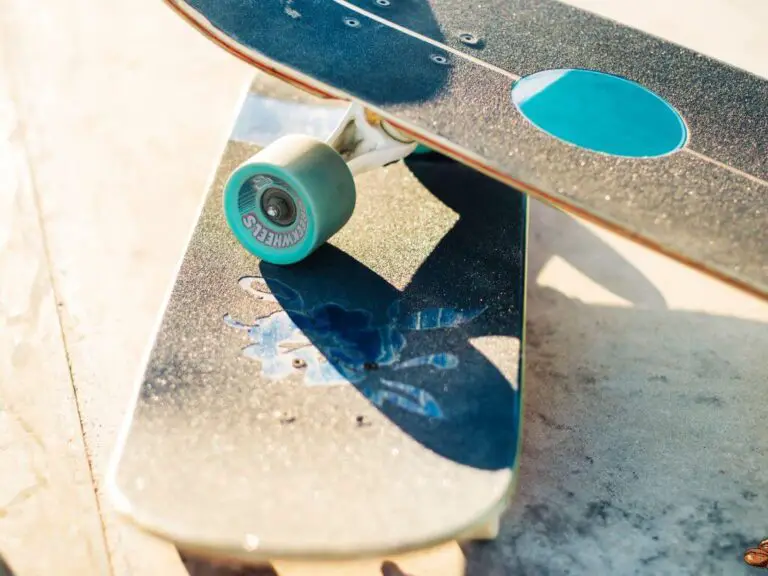
Showcasing Your Custom Deck
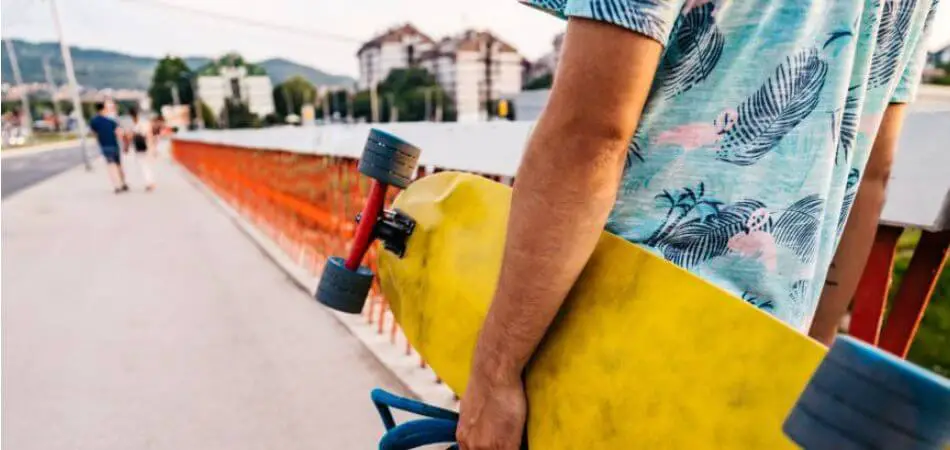
So, you’ve spent hours painting your skateboard deck, and it’s a true work of art. Now, it’s time to show it off to the world. Whether you plan to hit the streets or hang it on a wall, the way you showcase your custom deck can make all the difference. Let’s dive into making your skateboard the center of attention.
Mounting Hardware
First things first, the right mounting hardware will ensure your skateboard is ready for display. If you’re planning to ride your skateboard, sturdy bolts and nuts are a must. For wall displays, consider a skateboard mount that aligns with the deck’s style. Here’s a list of what you’ll need:
- Risers (optional, to prevent vibrations)
- Eight bolts and nuts (choose the length based on whether you use risers)
For wall mounts:
| Type of Mount | Installation Tips |
|---|---|
| Floating brackets | Creates a clean look, as if the deck is floating. |
| Deck hooks | Simple to install and easy to remove the deck. |
Display Or Ride
The final decision: to display your deck or ride it. If you choose to ride, equip your skateboard with quality trucks, wheels, and bearings. Enjoy the thrill of skating on your masterpiece. To display, find the perfect spot in your home and hang your deck up. Create a backdrop that complements its design and colors.
Here’s a quick guide for displaying your deck:
- Pick a well-lit area or add spotlights.
- Align the deck horizontally or vertically based on the artwork.
- Keep it away from direct sunlight to prevent fading.
Whether it’s cruising on the streets or adorning your wall, your custom deck deserves to be in the spotlight. Show the world your creative spirit and the passion that went into every brushstroke.
Frequently Asked Questions Of Painting A Skateboard Deck
Can I Paint Over My Skateboard Deck?
Absolutely, you can paint over your skateboard deck. Before painting, ensure the surface is clean, sanded down, and primed for the best adhesion and results. Seal your artwork with a clear coat to protect it from wear and tear.
What Type Of Paint Should I Use On A Skateboard?
For skateboard decks, acrylic paint is highly recommended. It’s versatile, dries quickly, and offers high durability. After painting, use a clear spray-on sealant to safeguard your design against the elements and preserve the paint’s vibrancy.
How Long Does Painting A Skateboard Take?
Painting a skateboard deck can range from a few hours to a couple of days. This includes preparation time, application of multiple paint layers, and drying time. It’s important to not rush the process to achieve a high-quality finish.
Do I Need To Sand My Skateboard Before Painting?
Yes, sanding your skateboard deck is essential. It helps to remove the old graphics and provides a smooth, even surface. A fine-grit sandpaper works well. Sanding ensures that the new paint adheres properly and looks smooth.
Conclusion
Embracing the art of skateboard deck painting unleashes your creativity and personal flair. As we’ve explored, the right techniques and materials are key. Remember, practice leads to improvement. So grab your paints, make your mark, and ride in style. Your board is your canvas—transform it boldly.