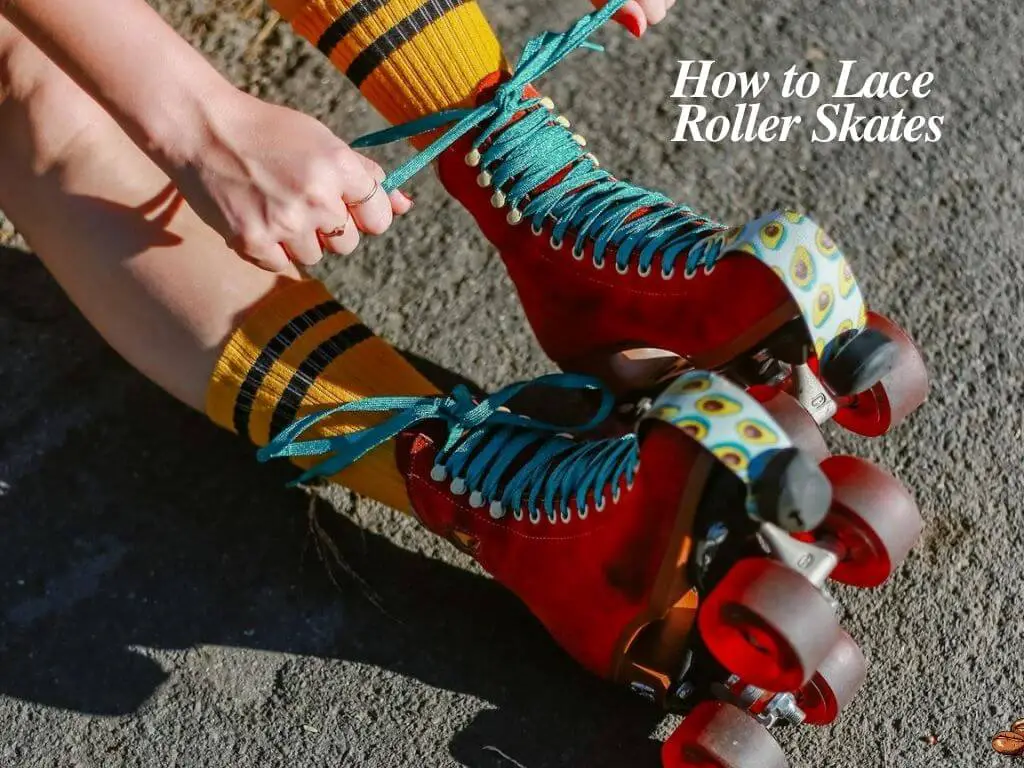
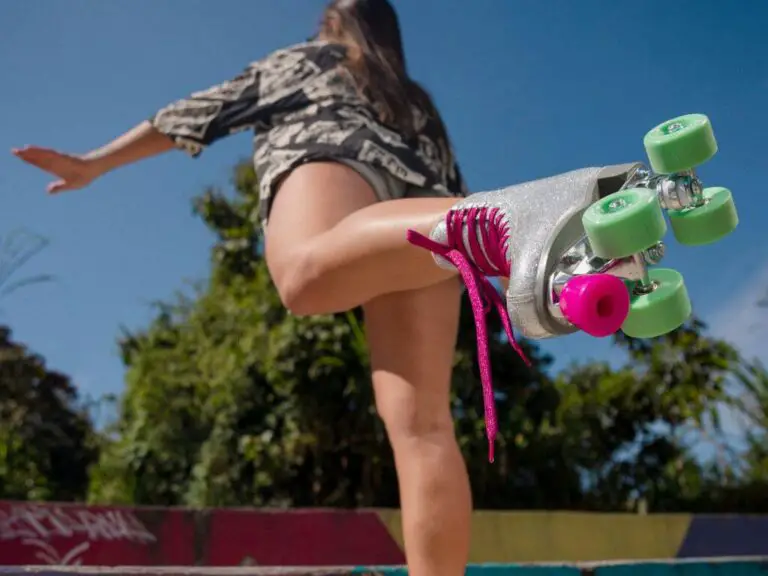
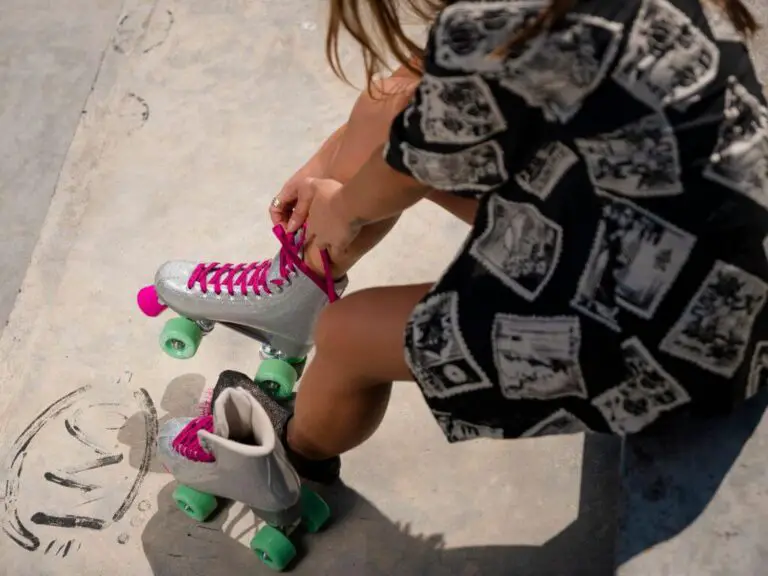
Roller skating is an exhilarating activity that combines fun, fitness, and freedom. But did you know that the way you lace your roller skates can make or break your experience? Whether you’re a seasoned skater or just starting out, learning how to lace roller skates properly is a game-changer.
Not only does it ensure a snug and secure fit, but it also enhances your performance, prevents injuries, and keeps you comfortable for hours on end.
In this guide, we’ll dive into the secrets of lacing your roller skates like a pro. From basic techniques to advanced methods tailored for different foot shapes and skating styles, you’ll discover everything you need to know to optimize your skate fit. Say goodbye to blisters, foot fatigue, and wobbly strides—mastering how to lace roller skates is the first step toward unlocking your full skating potential. Let’s roll into the details!
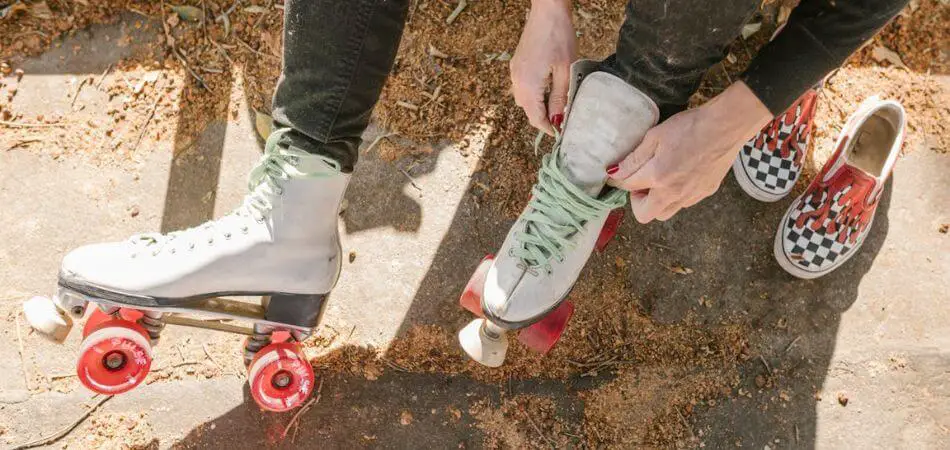
Understanding Roller Skate Anatomy
To get the most out of your lacing, it helps to understand a bit about the key parts of your roller skates. Knowing which components impact your lacing and fit allows you to make adjustments that are right for your foot shape and skating style.
Key Parts Relevant to Lacing
- Eyelets: These are the small holes along the sides of the skate where the laces thread through. Their placement influences tension and support.
- Tongue: The padded flap beneath the laces that protects the top of your foot. Keeping it centered helps with comfort.
- Ankle Support: This area provides stability for your ankles. Tightening around the ankle with certain lacing techniques can improve support and prevent rolling.
Different Types of Roller Skates
| Type | Description | Lacing Needs |
|---|---|---|
| Quad Skates | Traditional four-wheel in front and two in back. Ideal for rink and artistic skating. | Emphasis on balanced tension for stability. |
| Inline Skates | Skates with wheels in a straight line, often used for speed and street skating. | More focus on ankle support and heel-lock techniques. |
Each type of skate has unique lacing needs, and choosing the right technique for your style can improve both comfort and performance.
Why Proper Lacing is Important
Lacing up your roller skates correctly is about more than just keeping them on your feet. The way you lace can impact your balance, comfort, and safety while skating. Here are a few reasons why proper lacing is essential:
- Control and Stability: Lacing affects how snugly the skates fit, which is crucial for balance and control. Proper lacing helps you feel more connected to your skates, especially important when doing tricks or sudden turns.
- Comfort for Long Skating Sessions: Loose or uneven lacing can create uncomfortable pressure points, leading to foot pain or blisters. A well-laced skate ensures that weight is distributed evenly, allowing you to skate longer without discomfort.
- Injury Prevention: Without the right tension, your foot might slide around in the skate, increasing the risk of twisting your ankle or losing balance. Correct lacing reduces these risks by keeping your foot securely in place.
With the right lacing techniques, you can create a more comfortable and stable experience on wheels, making your time on the rink or the road far more enjoyable.
Step-by-Step Guide to Basic Lacing Technique
Starting with a simple, reliable lacing method is a great way to ensure comfort and control, especially for beginners. This basic technique helps create an even, supportive fit.
Step 1: Begin at the Bottom
- Thread the Laces: Start by threading your laces through the bottom eyelets of your skate, pulling the laces to ensure they’re even on both sides.
- Criss-Cross Pattern: Lace your skates by crossing the laces over each other and pulling them through the next set of eyelets, moving up toward the ankle.
Step 2: Maintain Even Tension
- Keep Tension Consistent: As you lace upward, ensure the laces are snug but not too tight, creating consistent tension. Tight laces at the bottom provide a secure foundation.
- Avoid Over-Tightening: Tightening too much can restrict blood flow and lead to discomfort. The goal is a firm yet comfortable hold.
Step 3: Adjust Fit Around the Midfoot and Ankle
- Midfoot Adjustment: Pay extra attention to the middle of the skate, as it often requires a bit more snugness for stability.
- Ankle Area: Finish by tightening around the ankle, as this area provides much of the support. If you have high-top skates, focus on a secure fit without overly constricting your movement.
Using this method, you can achieve a secure, balanced fit that offers comfort and support throughout your skating session.
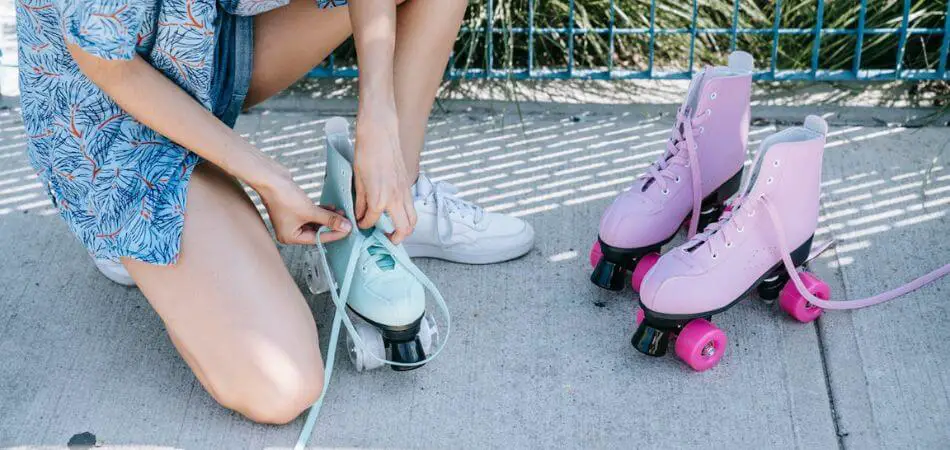
Advanced Lacing Techniques for Custom Fit
For skaters with specific needs—like more ankle support or extra room for wider feet—these advanced lacing techniques offer solutions that can enhance your comfort and performance.
For Extra Ankle Support
- Criss-Cross Lacing: Continue the standard criss-cross lacing technique up to the top eyelets, ensuring a firm hold around the ankle.
- Heel Lock Technique: After reaching the last eyelet, loop the lace down through the previous eyelet (just below) to form a “lock” around the heel. This keeps the ankle snug, reducing heel slippage.
For Wider Feet
- Skip Lacing: Skip an eyelet or two in areas where your foot feels too tight, such as the middle or forefoot. This technique provides extra space without losing support and helps relieve pressure on wider areas of the foot.
For High Instep
- Parallel (or “Ladder”) Lacing: Instead of crossing the laces, thread them straight across each pair of eyelets. This method distributes pressure more evenly across the top of the foot, reducing discomfort for skaters with a high instep.
These advanced lacing methods are great options to try if you need a customized fit. By experimenting with these techniques, you’ll be able to find the right support level for different skating styles and foot shapes.
Troubleshooting Common Lacing Issues
Even with the best lacing techniques, you might still encounter a few common issues while skating. Here are some tips to help you troubleshoot and resolve these problems for a more enjoyable experience.
1. Laces Coming Loose Mid-Skate
- Double Knot Your Laces: To prevent them from loosening, try tying your laces in a double knot at the end of your lacing process. This creates a more secure hold.
- Lock Laces: Consider using lock laces or elastic laces, which provide a snug fit without the need for frequent adjustments.
2. Pressure Points and Blisters
- Adjust Tension: If you feel pressure points, check the tightness of your lacing. Loosen the area causing discomfort while ensuring the skate still feels secure.
- Padding: Use padded socks or consider adding lace pads to your skates. These can help distribute pressure more evenly and reduce irritation.
3. Uneven Tightness Across the Foot
- Check Eyelet Alignment: Make sure that the laces are threaded evenly through each eyelet. If one side feels tighter, re-adjust by pulling more lace from the looser side.
- Re-lace as Needed: Sometimes it helps to completely re-lace your skates, paying attention to maintaining even tension as you go. This can resolve any inconsistencies in tightness.
By addressing these common lacing issues, you can improve your overall skating experience and ensure that your skates provide the support and comfort you need.
How to Choose the Right Type of Laces for Roller Skates
Selecting the right laces is just as important as mastering your lacing technique. The type of laces you use can significantly impact your comfort and performance. Here’s a guide to help you choose the best laces for your roller skates.
1. Types of Laces
- Flat Laces: These are the most common type and provide a stable fit. They distribute pressure evenly across the foot, making them a popular choice for many skaters.
- Round Laces: These laces are less likely to slip through eyelets and can create a snug fit. However, they may require more effort to maintain tension during lacing.
- Waxed Laces: Coated with wax for added grip, these laces stay tied better and require less frequent re-tightening. They’re ideal for skaters who prefer a secure fit and are engaged in tricks or stunts.
2. Ideal Lace Length
Choosing the correct lace length is crucial for both functionality and appearance. Here’s a quick guide:
| Skate Size | Lace Length (inches) |
|---|---|
| Up to 6 | 72 |
| 6.5 – 8 | 84 |
| 8.5 – 10 | 96 |
| 10.5 – 12 | 108 |
| 12.5 and up | 120 |
Make sure to select a length that allows you to lace up comfortably without excessive leftover lace.
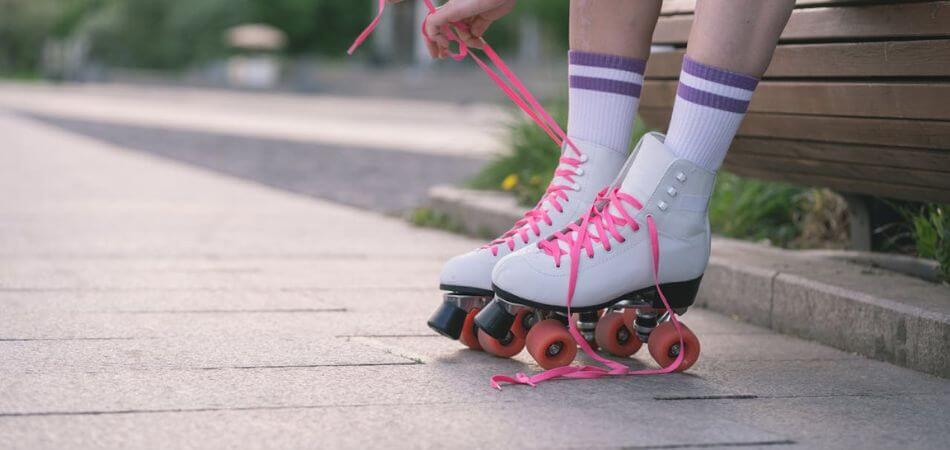
Final Tips for Optimal Roller Skate Lacing
To ensure you get the most out of your roller skating experience, keep these tips in mind for optimal lacing:
1. Check and Adjust Laces Before Each Session
- Pre-Skate Check: Make it a habit to check your laces before every skating session. A quick adjustment can prevent discomfort and potential injuries during your skate.
- Re-lace as Needed: Don’t hesitate to re-lace your skates if they feel off. It’s better to take a minute to fix it than to deal with discomfort later on.
2. Periodically Replace Worn-Out Laces
- Inspect Regularly: Regularly check your laces for signs of wear and tear. Worn laces can break easily and might not hold tension well.
- Keep Spare Laces: Consider keeping an extra pair of laces on hand, especially if you skate often. This ensures that you’re always ready to hit the rink with a fresh pair.
3. Practice Different Lacing Techniques
- Experiment: Try out various lacing methods to find what works best for you. Different techniques can enhance comfort and support based on your skating style or foot shape.
- Personalize Your Fit: Everyone’s feet are unique, so don’t be afraid to customize your lacing approach. Your comfort is the key to enjoying your skating experience.
How to Lace Up Your Roller Derby Skates
So, you’ve got your shiny new pair of roller derby skates and you’re ready to hit the track. But wait! Before you can zoom around the rink, you need to know how to lace them up properly. Don’t worry, it’s easier than it looks!
Why Proper Lacing Matters Proper lacing is essential for comfort, support, and performance. A well-laced skate will keep your foot securely in place, preventing blisters and discomfort. It will also provide the ankle support you need to execute those killer crossovers and power slides.
Step-by-Step Guide
- Loosen the Laces: Start by loosening the laces completely. This will make it easier to slip your foot into the skate.
- Slip Your Foot In: Gently slide your foot into the skate, making sure your heel is firmly planted against the back.
- Cross the Laces: Begin lacing from the bottom eyelets. Cross the laces over each other, pulling them tight but not too tight.
- The Heel Lock: Once you reach the top eyelets, create a “heel lock.” This involves crossing the laces over each other multiple times to secure your heel in place.
- Tighten the Laces: Starting from the bottom eyelets, tighten the laces in a crisscross pattern. Pull each lace with equal tension.
- Tie a Double Knot: Once you’ve reached the top, tie a secure double knot to prevent the laces from coming undone.
How to Lace Your Roller Skates for Maximum Comfort
Roller skating is a fantastic way to have fun and get some exercise. But if you have wide feet, finding the right fit and lacing technique can be a bit tricky. Here’s a guide to help you lace your skates for maximum comfort:
Choosing the Right Skates:
- Wide Fit Skates: Look for skates specifically designed for wide feet. They often have wider toe boxes and insteps.
- Comfort is Key: Prioritize comfort over style. A slightly larger size can provide extra room, but avoid going too big as it can affect control.
Lacing Techniques:
- Loose Initial Lacing:
- Start by lacing loosely, focusing on the ankle area. This allows for a comfortable fit and prevents any pressure points.
- Tighten the Instep:
- Once the ankle is secure, tighten the laces across the instep. This provides support and prevents the foot from sliding forward.
- Cross the Laces:
- Cross the laces over the top of your foot, ensuring they’re snug but not too tight. This helps to secure your heel and prevent blisters.
- Final Tightening:
- Finish by tightening the laces at the top of the boot. This will lock your foot in place and provide additional support.
Additional Tips:
- Break-In Period: New skates often require a break-in period. Wear them for short periods initially to allow the material to soften and mold to your foot.
- Customizable Insoles: Consider using custom orthotic insoles to provide extra support and comfort.
- Proper Socks: Wear moisture-wicking socks to keep your feet dry and reduce friction.
- Regular Breaks: Take regular breaks to rest your feet and prevent discomfort.
By following these tips, you can enjoy a comfortable and enjoyable roller skating experience, even with wide feet. Remember, the key is to find the right balance between support and comfort.
Conclusion
Lacing your roller skates may seem like a simple task, but proper techniques can greatly enhance your comfort, control, and safety on wheels. By experimenting with different lacing methods and addressing any issues that arise, you can ensure a personalized fit that meets your skating needs.
So, whether you’re a seasoned skater or just starting, take the time to perfect your lacing technique. You might just find that a little attention to detail makes a big difference in your skating experience. Grab your skates, practice your lacing, and get ready to roll!
FAQ’s
How should roller skates be laced?
Roller skates should be laced in a criss-cross pattern, starting from the bottom eyelets, ensuring even tension throughout. For added ankle support, finish with a heel lock by threading the lace back through the previous eyelet before tying securely.
What is the best way to lace skates?
The best way to lace skates is the criss-cross method, ensuring even tension throughout for a snug fit. This technique provides comfort, stability, and support while allowing for adjustments around the ankle and midfoot as needed.
How to lace roller skate hooks?
To lace roller skate hooks, start by threading the laces through the bottom hooks, pulling them tight. Cross the laces over and continue up through each hook, ensuring even tension as you go. For added ankle support, use a criss-cross pattern and finish with a secure knot at the top.
How to tie roller blades?
To tie roller blades, start by threading the laces through the bottom eyelets, then criss-cross them up to the ankle. Ensure even tension as you lace, tighten around the midfoot and ankle for support, and finish with a double knot for security.

