Skateboarding is all about freedom, speed, and precision, but nothing kills the vibe faster than gritty, slow-rolling bearings. If you’ve ever wondered how to clean skateboard bearings to keep your board performing at its best, you’re in the right place. Whether you’re a seasoned skater or just starting out, maintaining your bearings is a game-changer for smoother rides and longer-lasting gear.
In this guide, we’ll break down the process into simple, actionable steps, so you can get back to shredding with confidence. Let’s dive in and unlock the secrets to keeping your skateboard bearings in top shape!
Gear Up for Cleaning: What You’ll Need
Before we get down and dirty with the bearings, let’s gather our cleaning crew. Here’s what you’ll need:
- Skate tool: Your trusty companion for all things skateboard adjustments.
- Rags or paper towels: To wipe away grime and excess solvent.
- Container for soaking: A dish, jar, or anything that can hold your bearings comfortably.
- Cleaning solvent: Isopropyl alcohol, acetone, or mineral spirits are all effective choices. Remember: These solvents are flammable, so keep them away from heat and open flames.
- Safety first! Wear gloves and work in a well-ventilated area when handling solvents.
Optional, but helpful tools:
- Compressed air: Can be a lifesaver for blasting out stubborn debris.
- Bearing removal tool (if your bearings have removable shields): Makes removing the shields a breeze.
- Toothbrush: For tackling any particularly stubborn grime.
Now that you’ve assembled your cleaning squad, let’s move on to step two: removing those bearings!
Mission: Extract – Removing the Bearings
With our cleaning crew prepped, it’s time to liberate the bearings from their wheel prisons. Here’s how to do it like a pro:
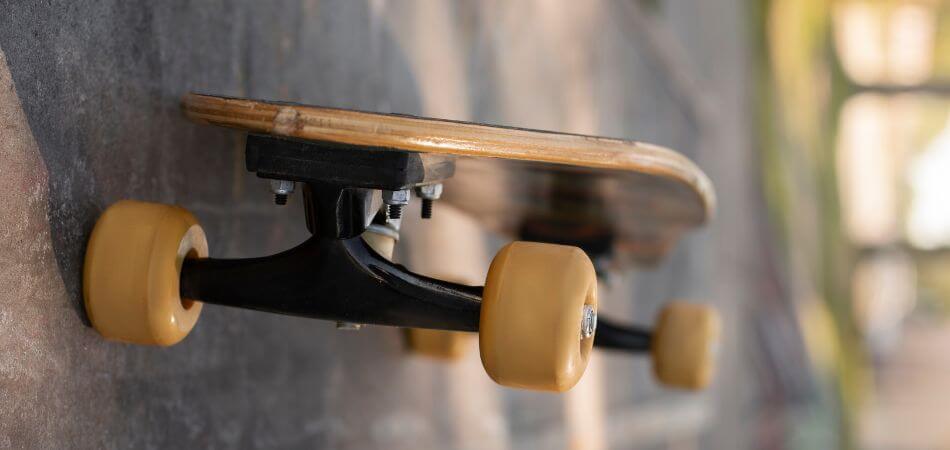
- Wheel Removal: Grab your trusty skate tool and loosen the axle nuts on each wheel. Carefully remove the nuts and washers, then pull the wheels straight off the axle.
- Bearing Liberation: Depending on your bearings, there are two ways to extract them:
- Sealed Bearings: These are the most common type. Simply pop them out of the wheel with your skate tool. Insert the tool’s socket wrench attachment into the inner hole of the bearing and push outwards from the other side of the wheel. The bearing should pop out with a satisfying click. Repeat for all four wheels.
- Removable Shield Bearings: These have a removable rubber shield on one side. If you have this type, you might need a bearing removal tool (though a paperclip can work in a pinch). Slide the tool (or paperclip) underneath the shield’s edge and gently pry it off. Once the shield is off, follow the same method as sealed bearings to pop them out.
Safety Tip: Be careful not to bend or damage the shields while prying them off. If you’re using a paperclip, be extra gentle to avoid breaking it.
Now that your bearings are free and clear, we’re ready for the next step: the cleaning bath!
The Great Soak: Cleaning Those Bearings
We’ve extracted the bearings, and now it’s time to banish all that built-up grime and gunk. Here’s how to give them a refreshing soak:
- Prepare the Bath: Pour your chosen cleaning solvent (isopropyl alcohol, acetone, or mineral spirits) into your container. Make sure there’s enough solvent to completely submerge all the bearings.
- Submerge the Bearings: Carefully drop your bearings into the solvent bath. You might see some dirt and debris immediately rise to the surface – that’s a good sign!
- Let Them Soak: Here’s where patience becomes your friend. Let the bearings soak for at least 30 minutes, but an hour won’t hurt either. This allows the solvent to break down and loosen all that nasty grime.
- Agitate (Optional): If you’re feeling particularly enthusiastic (or your bearings look extra dirty), you can gently agitate the container every few minutes. Swirling the solvent around will help dislodge any stubborn particles clinging to the bearings.
Don’t spin the bearings in the solvent! This can actually force the dirty solvent back into the bearings. Just let them soak and do their magic.
- Inspect and Clean Further (Optional): After soaking, take a peek at your bearings. If there’s still some visible grime, you can use a rag or paper towel to gently wipe it away. For particularly stubborn dirt, consider using a soft-bristled toothbrush dipped in the solvent (remember, don’t spin the bearings while brushing).
- Drying Out: Once you’re satisfied with the cleaning, it’s time to dry those bearings completely. Lay them out on a clean paper towel and let them air dry for at least a couple of hours, or until all the solvent has evaporated. You can also use compressed air to speed up the drying process, but be gentle and avoid blasting them directly.
Completely dry bearings are crucial! Any leftover solvent can cause rust and hinder performance. So, patience is key during this drying phase.
With squeaky-clean and dry bearings, we’re almost ready to get them rolling again! Up next: lubrication and reassembly.
Relubrication and Reassembly: Putting it All Back Together
We’ve conquered the cleaning challenge, and now it’s time to give your bearings some love with fresh lubrication and reassemble your skateboard. Here’s how to bring it all back to life:
- Lubrication is Key: Clean bearings are great, but without proper lubrication, they won’t perform their best. Avoid the temptation to use WD-40 – it’s not designed for bearings and can actually attract dirt. Instead, opt for a skateboard-specific bearing lubricant.
- A Drop Does the Job: With your chosen lubricant in hand, carefully add a few drops (2-3) to each bearing. Don’t overdo it – too much lube can lead to increased rolling resistance.
- Spin it Around: Once lubricated, gently spin each bearing to distribute the lubricant evenly. You should feel a smooth and quiet rotation.
- Shield Duty (Optional): If your bearings have removable shields, carefully pop them back on before reassembly.
- Back in the Wheels: Now comes the fun part – putting everything back together! Place the bearings back into the wheels, ensuring they’re seated properly.
- Tighten Up: Slide the wheels back onto the axle, put the washers and nuts back on, and tighten them securely with your skate tool. Don’t overtighten – you want the wheels to spin freely but without any wobble.
- Test Drive: Give your board a spin! The bearings should feel smooth and quiet, allowing you to roll with ease.
Congratulations! You’ve successfully cleaned and reassembled your skateboard bearings. Now you’re ready to shred the streets (or skatepark) with renewed speed and control.
Pro Tips: When the Ride Gets Rough
Sometimes, even after a thorough cleaning, your bearings might still be acting up. Here are a few troubleshooting tips to address common issues:
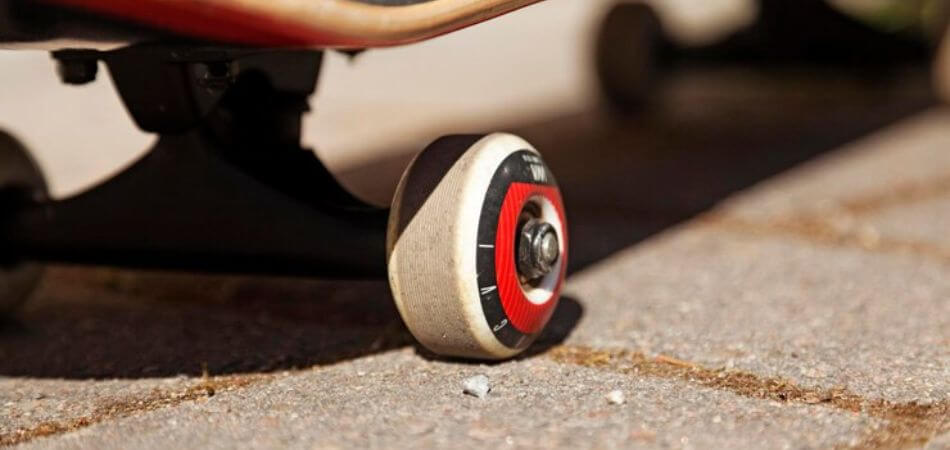
- Noisy Bearings: If your bearings are still making grinding noises after cleaning, it could be a sign of damaged races or balls within the bearings themselves. In this case, replacing the bearings might be necessary.
- Difficulty Spinning: If your bearings are still difficult to spin, there could be a couple of reasons:
- Incomplete Drying: Double-check that your bearings are completely dry. Any leftover solvent can cause sluggishness.
- Over-lubrication: Remember, a few drops of lubricant are enough. Too much lube can actually hinder smooth rolling. Try removing some excess lubricant with a clean rag.
- Worn Bearings: If cleaning and proper lubrication don’t solve the spinning issue, your bearings might be simply worn out and require replacement.
If you’re still facing challenges after trying these troubleshooting tips, don’t hesitate to consult your local skate shop. They can provide additional guidance and potentially help diagnose any underlying problems with your bearings.
Happy Shredding!
By following this guide and keeping up with regular cleaning and maintenance, you can ensure your skateboard bearings stay in top shape. This translates to a smoother, more enjoyable riding experience for you. Now get out there and shred with confidence!
SEO-Friendly Trendy FAQ about Skateboard Bearings:
How often should I clean my skateboard bearings?
The frequency depends on how often and where you skate. Aim for every few months, but clean more often if you ride in dusty or wet conditions.
What are the signs my bearings need cleaning?
Slow rolling, grinding noises, and decreased control are all telltale signs your bearings are clogged and need some TLC.
Is WD-40 okay for lubricating skateboard bearings?
Absolutely not! WD-40 is not designed for high-speed applications and can actually gum up your bearings. Use a dedicated skateboard lubricant instead.
Can I clean my bearings with water?
No way! Water can rust your bearings and damage your skateboard. Use a non-water-based solvent like isopropyl alcohol, acetone, or mineral spirits. Remember to wear gloves and work in a ventilated area when handling solvents.
My bearings are still noisy after cleaning. What should I do?
There could be damaged races or balls within the bearings. In this case, replacing them might be necessary.
Is there anything I can do to prevent my bearings from getting dirty so quickly?
Avoid riding through water whenever possible. This not only protects your bearings but also your deck from warping.

