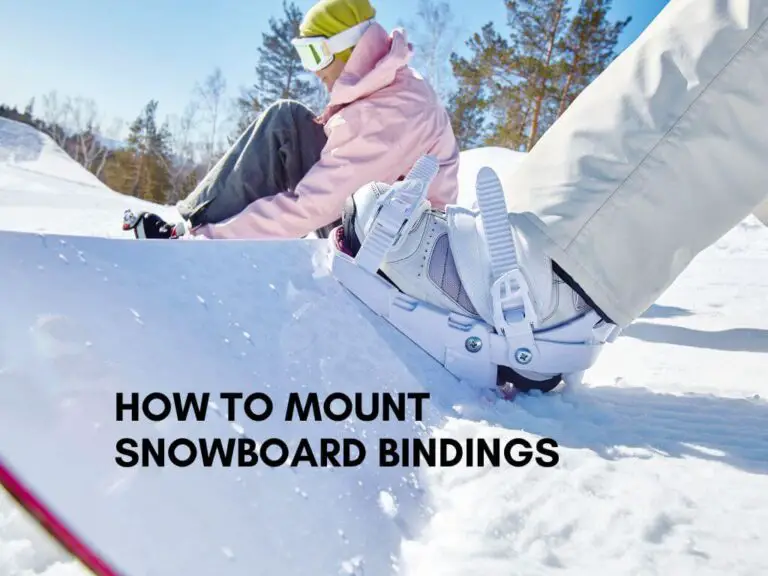
To put bindings on a snowboard, align the bindings with the inserts and screw them in securely. Make sure the stance is comfortable.
Mounting snowboard bindings correctly is crucial for a safe and enjoyable ride. Proper placement ensures better control and balance on the slopes. Start by aligning the bindings with the pre-drilled inserts on the snowboard. Make sure to choose a stance width and angle that suits your riding style.
Secure the bindings using screws and a screwdriver, ensuring they are tight but not overly torqued. Check that both bindings are parallel and symmetrically aligned. Adjust the straps and highbacks for comfort and support. Properly mounted bindings can significantly enhance your snowboarding experience, providing stability and control.
Gather Required Tools
Putting bindings on a snowboard can seem tricky, but with the right tools and a little guidance, it’s a breeze. The first step in this process is gathering all the required tools. Ensuring you have everything you need beforehand will make the installation smooth and efficient.
Screwdriver
The most important tool for attaching bindings is a screwdriver. A good-quality screwdriver ensures you can securely fasten the screws without damaging them. A Phillips head screwdriver is usually the best choice. Some snowboard bindings also use a specific type of screwdriver, so check your binding’s manual.
- Phillips head screwdriver – Most common type needed.
- Flathead screwdriver – Sometimes required, though less common.
- Multitool – Handy for on-the-go adjustments.
A comfortable grip on the screwdriver makes the task easier. Look for one with a rubber handle for better control. Using a proper-sized screwdriver prevents stripping the screws, which is crucial for a secure fit.
Bindings
The next essential item is the bindings themselves. Bindings connect your boots to the snowboard, providing control and stability. Choose bindings that match your snowboarding style and fit your boots well.
Bindings usually come with:
- Baseplates – The part that attaches to the board.
- Straps – Secure your boots in place.
- Highbacks – Offer support and control.
Ensure that all parts of the bindings are in good condition before installation. Check the straps for any wear and tear and make sure the buckles function smoothly. Highbacks should be adjustable to fit your stance preference.
Snowboard
Your snowboard is the canvas on which you’ll mount the bindings. Ensure it’s clean and free from any debris. The mounting area should be clear, so use a cloth to wipe it down if necessary.
There are different types of mounting systems:
- 4×4 – Most common, with four holes in a square pattern.
- 2×4 – Similar to 4×4 but with more stance options.
- Channel system – Found on Burton boards, offering more adjustability.
Check your snowboard’s mounting pattern to ensure compatibility with your bindings. This step is crucial for a proper fit and optimal performance on the slopes.
Mounting Hardware
The final item on your list is the mounting hardware. This includes the screws and washers needed to attach the bindings to the snowboard. Typically, bindings come with the necessary hardware, but it’s always a good idea to double-check.
- Screws – Ensure they are the right length and type for your bindings and board.
- Washers – Help distribute the pressure evenly.
- Locking bolts – Some bindings use these for added security.
Having spare screws and washers can be helpful, especially if you lose one. Store the hardware in a small container to keep it organized and prevent losing any pieces.
Positioning The Bindings
Getting your snowboard bindings positioned correctly is crucial for both comfort and performance on the slopes. Whether you’re a beginner or a seasoned rider, knowing how to put bindings on a snowboard properly can make all the difference. Let’s dive into the steps for positioning the bindings.
Determine Stance Width
First, find your ideal stance width. The stance width is the distance between your two bindings. A comfortable stance width helps in maintaining balance and control. Here’s how you can determine the correct width:
- Stand with your feet shoulder-width apart.
- Bend your knees slightly.
- Measure the distance between the center of your feet.
Many riders use their height as a rough guide:
| Height (Feet) | Stance Width (Inches) |
|---|---|
| 5’0″ – 5’4″ | 18″ – 19″ |
| 5’4″ – 5’8″ | 19″ – 20″ |
| 5’8″ – 6’0″ | 20″ – 22″ |
| 6’0″ and above | 22″ – 23″ |
These are general guidelines. Adjust according to your comfort and riding style. A wider stance offers more stability, while a narrower stance provides more agility.
Position Bindings On Board
Now that you know your stance width, it’s time to position the bindings on the board. Follow these steps for accurate placement:
- Place the bindings on the board where you want them.
- Ensure the distance between the bindings matches your stance width.
- Use the pre-drilled holes on the board to mount the bindings.
Most snowboards have reference stance markings. Use these as a starting point. Check if the bindings are centered or offset. Centered bindings provide balanced performance, while offset bindings can be better for freestyle riding.
Remember to double-check the placement before tightening the screws. An incorrect position can affect your ride quality.
Align Binding Angles
The next step is to align the binding angles. This step is crucial for comfort and control. Here’s how to set up the angles:
- Identify the front and rear bindings.
- Use an angle chart or your preference for the angles.
- Common beginner angles are +15° for the front and 0° for the back.
Intermediate and advanced riders might prefer different angles. Here’s a quick guide:
| Riding Style | Front Binding Angle | Rear Binding Angle |
|---|---|---|
| Freestyle | +15° | -15° |
| All-Mountain | +15° | 0° |
| Freeride | +18° | -3° |
Adjust the angles to your comfort and riding style. Use a screwdriver to tighten the bindings once you’ve found the right angle.
Properly aligned bindings enhance your control and reduce the risk of injuries. Take your time to get it right.
Mounting Bindings To Snowboard
Mounting bindings to your snowboard correctly is crucial for a safe and enjoyable ride. This process ensures your feet are secure and properly positioned for optimal control. Follow these simple steps to mount your bindings and get ready for the slopes.
Attach Binding Discs To Board
Start by placing the binding discs on your snowboard. These discs are essential as they secure the bindings to the board. Align the discs with the pre-drilled holes on your snowboard. Most snowboards come with either a 4×4 or 2×4 hole pattern. Make sure the discs match this pattern.
Here’s a quick guide to help you:
- 4×4 Pattern: Has four rows of holes spaced 4 cm apart.
- 2×4 Pattern: Has four rows of holes spaced 2 cm apart.
Once you align the discs, you need to decide on your stance. Set the angle of your bindings based on your comfort and riding style. A common setup is +15° on the front foot and -15° on the back foot for a duck stance. This stance helps with stability and control.
Now, place the binding over the disc, ensuring it sits flush. Check that the angle indicators on the disc match your desired stance. Keep the binding steady as you move on to the next step.
Insert Screws And Tighten
With the binding discs in place, take the screws that came with your bindings. Insert the screws through the holes in the bindings and into the discs. It’s important to start all screws before tightening any of them completely. This ensures the binding remains aligned with the board.
Use a screwdriver to turn each screw clockwise. Tighten each screw gradually, moving in a crisscross pattern. This method applies even pressure and prevents the screws from stripping the holes. Check that all screws are snug but avoid over-tightening as this can damage the board or the screws.
Here’s a simple checklist:
- Insert all screws loosely.
- Tighten screws in a crisscross pattern.
- Ensure screws are snug but not overly tight.
Once all screws are tight, give the bindings a firm wiggle. They should feel secure with no movement. Properly tightened screws are essential for safety and performance.
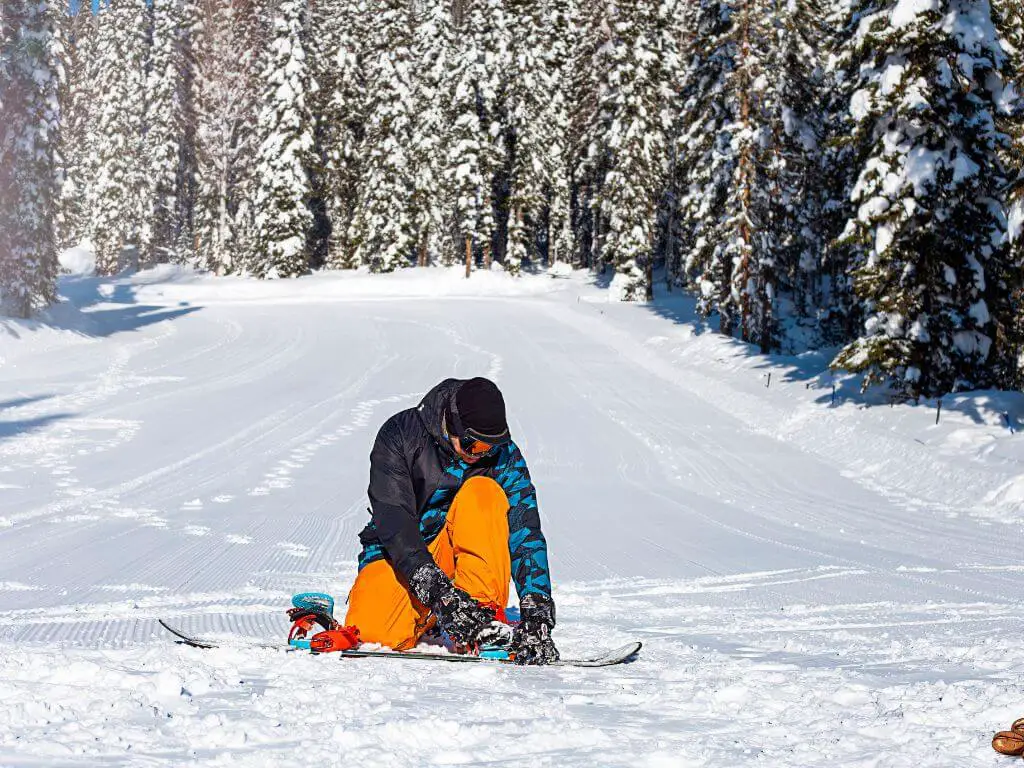
Adjust Binding Straps
Now that your bindings are securely mounted, it’s time to adjust the binding straps for a comfortable fit. Sit down and strap into the bindings. Ensure your boots fit snugly without too much pressure.
Follow these steps to adjust the straps:
- Toe Strap: The toe strap should sit comfortably over the toes, holding the boot in place. Adjust the strap length by moving the buckle to the desired position.
- Ankle Strap: The ankle strap should be tight enough to keep your heel down but not so tight that it causes discomfort. Adjust the length using the ratchet system.
Once you adjust the straps, stand up and flex your ankles and knees. Ensure the straps allow for natural movement. Properly adjusted straps prevent foot fatigue and improve control.
Here’s a simple adjustment guide:
| Strap | Adjustment |
|---|---|
| Toe Strap | Snug over toes |
| Ankle Strap | Firm around ankle |
With the straps adjusted, you’re ready to hit the slopes. Check your bindings regularly to ensure they remain secure and comfortable.
Testing The Bindings
Setting up your snowboard bindings is crucial for a safe and enjoyable ride. One important step in this process is testing the bindings. Testing ensures your bindings are secure, properly adjusted, and ready for action. This guide will help you test your bindings with three essential steps: securing the boots in the bindings, checking the binding release settings, and making final adjustments.
Secure Boots In Bindings
After installing the bindings on your snowboard, you must ensure your boots fit securely. Place your snowboard on a flat surface. Insert your boots into the bindings. Follow these steps:
- Slide your foot into the binding, ensuring the heel fits snugly.
- Fasten the straps. Start with the ankle strap, then the toe strap.
- Tighten the straps until your boot feels secure but comfortable.
If your boots move inside the bindings, you need to adjust them. Check the manufacturer’s instructions for the correct strap tension. Properly securing your boots ensures you maintain control on the slopes.
Here’s a quick checklist to ensure your boots are secured:
| Step | Action |
|---|---|
| 1 | Insert boot into binding |
| 2 | Fasten ankle strap |
| 3 | Fasten toe strap |
| 4 | Tighten both straps |
| 5 | Check for movement |
Check Binding Release Settings
Next, check the binding release settings. These settings determine how easily your boots can release from the bindings. Proper release settings are vital for safety. Follow these steps:
- Locate the release lever on your bindings.
- Test the release by pulling the lever with your boots strapped in.
- Adjust the release tension if the boots release too easily or with too much force.
Refer to the binding manual for specific instructions on adjusting the release settings. Use a screwdriver if necessary. Proper release settings can prevent injuries during falls.
Here are some indicators that your release settings might need adjustment:
- Boots release too easily during normal movements.
- Boots are difficult to release even with significant force.
Make Final Adjustments
With your boots secured and release settings checked, make final adjustments to your bindings. This ensures optimal performance and comfort. Follow these steps:
- Check the binding angles. Ensure they match your preferred stance.
- Adjust the highbacks. They should align with your calf muscles.
- Test the bindings by simulating riding movements.
Make sure the highbacks are not too forward or too backward. This can affect your balance and control. Adjust the angle for comfort and performance. Test the bindings by standing on the board and shifting your weight.
Here’s a simple table to help you with final adjustments:
| Adjustment | Action |
|---|---|
| Binding Angles | Match to preferred stance |
| Highbacks | Align with calves |
| Strap Tension | Ensure comfort and security |
| Simulate Movements | Test for performance |
These steps ensure your bindings are properly adjusted for a safe and enjoyable ride. Proper testing and adjustments can make all the difference on the slopes.
Tips And Tricks
Putting bindings on a snowboard can be a tricky task. Knowing the best tips and tricks can make it easier. Whether you’re a beginner or an expert, these tips will help you get the most out of your snowboard setup.
Double Check Screw Tightness
Ensuring your screws are tight is crucial for safety. Loose screws can lead to accidents and poor performance. Here are some key points to remember:
- Use the right screwdriver – A Phillips head screwdriver is usually the best.
- Tighten screws evenly – Don’t over-tighten one screw before moving to the next. Tighten them in a criss-cross pattern for even pressure.
- Check screw tightness regularly – Make it a habit to check your screws before every ride. Temperature changes and vibrations can loosen them over time.
Here’s a simple table to illustrate the recommended screw tightening sequence:
| Step | Screw Position |
|---|---|
| 1 | Top Left |
| 2 | Bottom Right |
| 3 | Top Right |
| 4 | Bottom Left |
Consider Professional Mounting
Sometimes, it’s best to let professionals handle the mounting. Here’s why:
- Expertise and experience – Professionals know the best practices and have experience with different snowboard types.
- Proper tools – They have specialized tools that ensure precise mounting.
- Peace of mind – Knowing your bindings are securely mounted can make your ride more enjoyable.
Here are some scenarios where professional mounting is highly recommended:
- New to snowboarding – If you’re new, professionals can ensure everything is set up correctly.
- Upgrading equipment – When switching to new bindings or boards, a professional touch can make a big difference.
- Custom setups – For unique or customized setups, professional expertise is invaluable.
Experiment With Binding Angles
Finding the right binding angles can improve comfort and performance. Here are some tips for experimenting:
- Start with a standard setup – A common starting point is 15° on the front foot and -6° on the back foot.
- Adjust gradually – Make small adjustments and test them out to see how they feel.
- Consider your stance – If you ride duck-footed, you might prefer equal angles on both feet.
Here are some popular binding angle setups:
| Rider Type | Front Foot Angle | Back Foot Angle |
|---|---|---|
| Freestyle | 15° | -15° |
| All-Mountain | 15° | -6° |
| Freeride | 18° | 0° |
Remember, the best angle is the one that feels most comfortable for you. Don’t be afraid to experiment and find what works best.
Frequently Asked Questions
What Is The Best Way To Put Bindings On A Snowboard?
Position the bindings based on your stance. Align the angles to your preference. Secure them tightly to the board. Adjust the straps for comfort. Test the setup before hitting the slopes.
Can I Install My Own Snowboard Bindings?
Yes, you can install your own snowboard bindings. Follow the manufacturer’s instructions and use the correct tools. Make sure bindings are secure and properly aligned for safety.
How Tight Should Snowboard Binding Screws Be?
Snowboard binding screws should be snug but not overly tight. Aim for firm resistance without stripping the threads. Use a screwdriver, not a power tool.
How Do You Put Bindings On A Goofy Snowboard?
To put bindings on a goofy snowboard, place the front binding on the right side. Angle it slightly forward. Position the back binding on the left side. Ensure both bindings are securely fastened. Adjust the stance width for comfort and control.
Conclusion
Mastering how to put bindings on a snowboard is essential for a great ride. Follow these steps for a secure fit. Properly installed bindings enhance control and performance. Now, you’re ready to hit the slopes with confidence. Enjoy the thrill and stay safe while snowboarding.